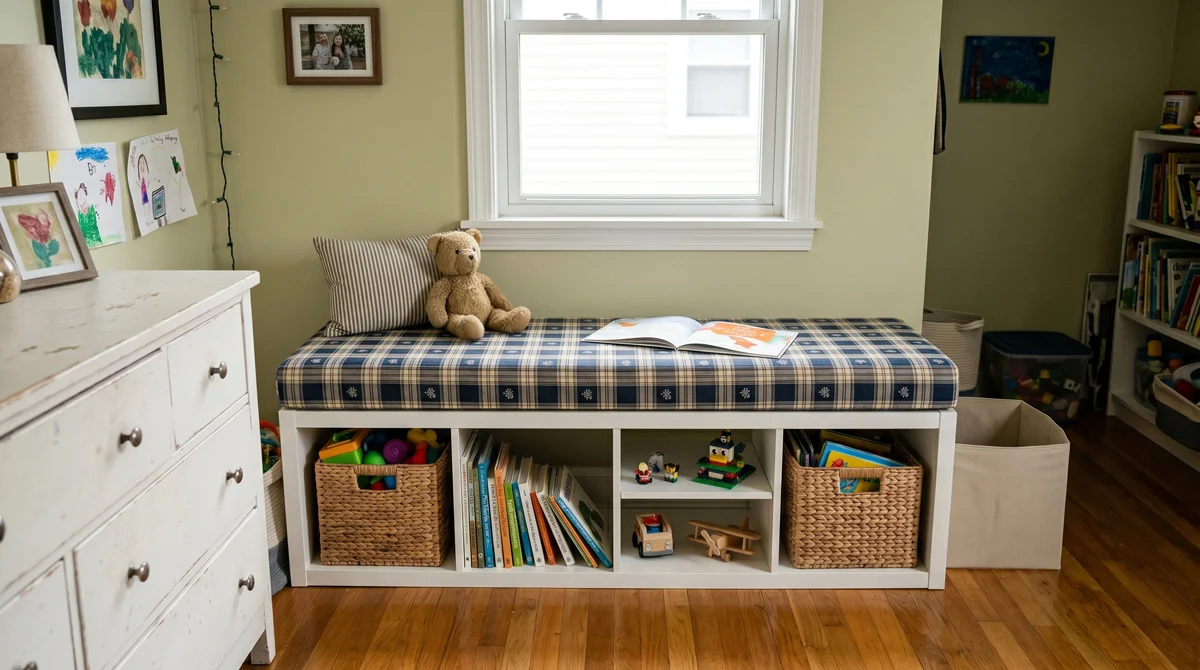
The Kallax-to-window-seat hack is one of the most popular IKEA projects out there — flip the shelving unit on its side, add a cushion, done. This guide covers the build, the exact cushion dimensions for every Kallax size, what the DIY cushion route actually costs, and how to get one that fits without the trial and error.
This is one of the most reliably good IKEA hacks out there, and it earns the popularity. A Kallax shelving unit, laid on its side under a window, instantly becomes a bench with built-in storage underneath — baskets, bins, books, whatever needs a home. The structural part of this project is almost embarrassingly simple. The part that trips people up, consistently, is the cushion.
The Basic Build (This Part Really Is Easy)
Assemble the Kallax unit according to IKEA’s instructions, then lay it on its side rather than standing it upright. The cube openings that would normally face outward now face up, which is what creates the bench seat surface and the storage cubbies in one move.
Position it beneath the window, against the wall. If the unit will see regular use as seating, anchor it to the wall using basic safety hardware — an anti-tip kit or L-brackets into a wall stud — both for stability and so it doesn’t shift when someone sits down at the edge. Many people add a thin plywood or MDF top panel across the full length before the cushion goes on, which spreads weight more evenly across the cube walls and gives the cushion a flat, continuous surface to sit on rather than resting directly on the cube openings.
That’s genuinely most of it. Kallax units are rated for roughly 29 lbs per cube in their designed orientation, but once laid flat with a top panel distributing the load, they reliably handle adult sitting weight — plenty of real-world builds report years of daily use with multiple people sitting at once without issue.
Kallax Cushion Dimensions: The Numbers You Actually Need
Here’s where most tutorials get vague, and where this guide is going to be specific. IKEA sells Kallax units in several configurations, and each one needs a different cushion footprint once laid on its side. These are the standard exterior dimensions for the most common configurations:
| Kallax Configuration | Length | Depth |
|---|---|---|
| 1×2 (2 cubes) | ~30½” | ~15½” |
| 1×4 (4 cubes) | ~57⅞” | ~15½” |
| 2×2 (4 cubes, square) | ~30¼” | ~30¼” |
| 1×4 doubled / two units side by side | ~95″ | ~15½” |
| Three units combined (custom width) | Varies — measure your actual span | ~15½–26″ depending on add-ons |
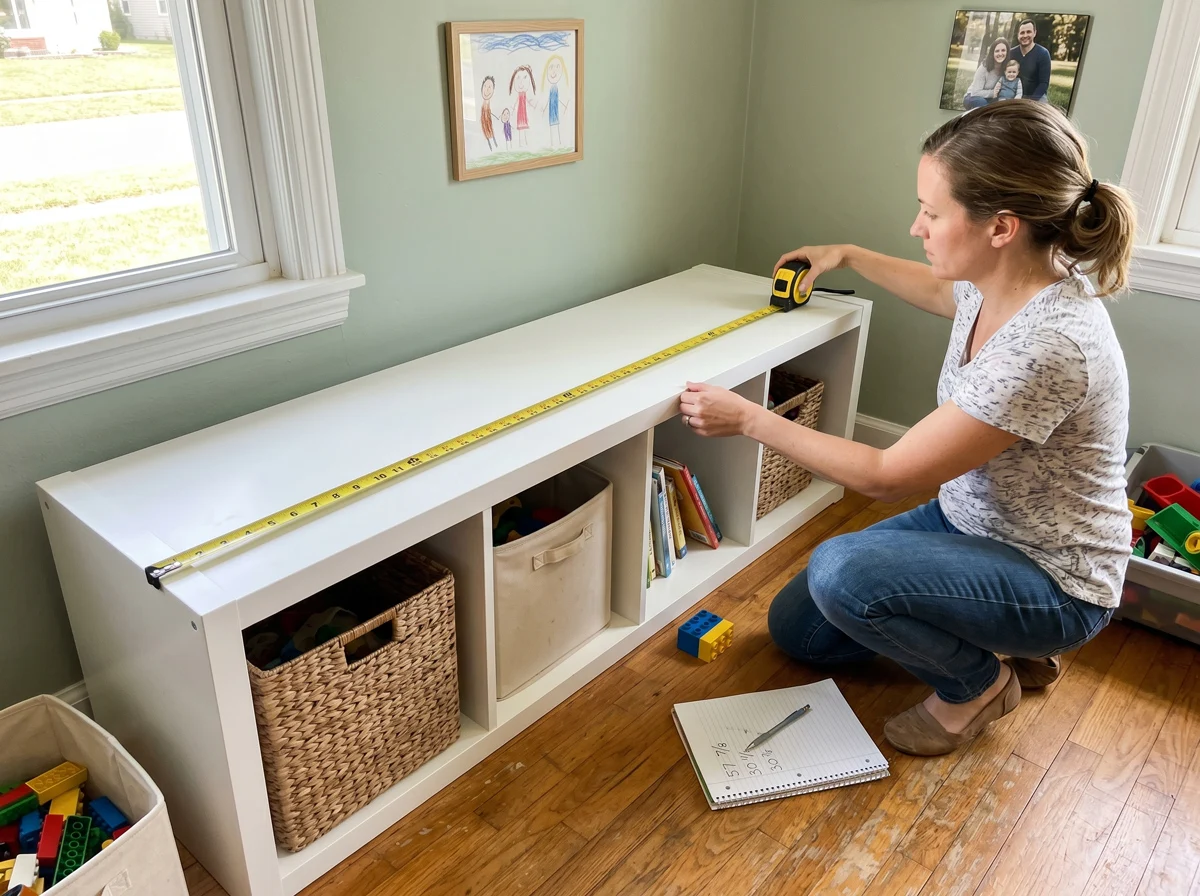
These reflect the Kallax unit’s own footprint when laid flat. If you’ve added a plywood top that extends past the unit’s edges, or built out the depth with additional framing, measure your actual finished surface rather than relying on these baseline numbers — plenty of real builds extend beyond the stock Kallax footprint for a deeper, more comfortable seat.
Two important notes the standard numbers don’t capture. First, if you’ve combined multiple Kallax units side by side — a very common approach for wider window seats — measure the actual combined width yourself, including any spacers or framing between units, rather than just adding the individual unit widths together. Small gaps and connecting hardware change the total. Second, many builders extend the depth beyond the stock 15½” by adding a front lip or plywood overhang for a more comfortable, deeper seat — if you’ve done this, your actual cushion depth needs to reflect that addition, not the stock Kallax measurement.
The DIY Cushion Route: What It Actually Involves
Most Kallax window seat tutorials walk through making your own cushion, and it’s a legitimate option — but it’s worth knowing what you’re signing up for before you start, because the real experience reported by people who’ve done it is more involved than the simplified version usually suggests.
The process: cut a piece of plywood or MDF to your bench’s exact surface dimensions (most hardware stores will make the first few cuts free), layer high-density foam on top (1 to 3 inches, cut to match the panel), add a layer of batting or quilt batting over the foam for a fuller look, and wrap the whole assembly in fabric, stapling it to the underside of the panel.
The complications that show up in practice: foam doesn’t always come in the length you need — people building the popular 95-inch combined Kallax bench have specifically run into trouble finding foam that long and have had to piece together sections or substitute mattress toppers cut to size. Corners are consistently described as the trickiest part to staple cleanly, with most builders folding and tucking to hide the bulk rather than achieving a fully clean finish. And for anyone wanting the bench to double as occasional sleeping space — a common reason for building a wider Kallax window seat in a kid’s room — the cushion needs to be thick and supportive enough for that use, which pushes costs up further.
One detail that’s easy to miss: Kallax tops are smooth laminate, which means a cushion sitting on top without any anchor will slide. Most successful builds add hook-and-loop strips between the cushion’s underside and the bench top to keep it in place — a small detail that’s worth planning for regardless of which cushion route you take.

The Honest Cost Picture
Here’s the part that surprises people who go into this assuming DIY is automatically the cheaper path. Real builders who’ve documented this project report the cushion — not the Kallax units themselves — as the most expensive single component. One well-documented 95-inch double-Kallax build put two sets of outdoor cushions at just under $500, more than the cost of the shelving units, wood, and trim combined. Another builder who priced custom-sized cushions on Etsy at $150–200 for a Kallax-fitted size decided that felt steep and chose to DIY instead — only to find that once thick foam, quality outdoor fabric, batting, and tools were all added up, the savings were smaller than expected.
The realistic range for materials alone on a standard 1×4 Kallax bench cushion (foam, batting, fabric, plywood, staples or sewing supplies) runs $60 to $150, before counting the time involved or any false starts with foam sizing or fabric yardage. For wider combined units (the 95-inch builds), material costs scale up accordingly and foam sourcing becomes more complicated, as noted above.
A custom-made cushion, ordered to your exact Kallax dimensions with foam density and fabric chosen upfront, typically lands in a comparable price range — without the cutting, stapling, corner-folding, or the risk of foam that doesn’t come in the length you need. The custom window seat cushion page handles exactly this kind of project: provide your Kallax bench’s length, depth, and desired thickness, choose a fabric, and skip the trial and error entirely.
Quick decision guide
DIY makes sense if: you already own a sewing machine or are comfortable with a staple gun, you enjoy the process, or your bench has an unusual combined width where a custom order would need extra coordination anyway.
Custom makes more sense if: you want this done right the first time, your combined Kallax width is in the 90+ inch range where foam sourcing gets genuinely difficult, or the math above is landing close enough to DIY cost that skipping the project labor is worth it.
Fabric and Fill: What Actually Holds Up
Whichever route you take, fabric choice determines how the finished bench performs over time — especially since this is a surface that gets sat on, knelt on, and (in kids’ rooms especially) generally lived on daily.
For a window seat that gets regular use, a tightly woven upholstery-weight fabric outperforms anything thin or loosely woven, which will show wear at the edges within months. If the bench is in a sunny spot — and window seats by definition usually are — fading is a real consideration even indoors; a solution-dyed fabric (color embedded in the fiber rather than applied to the surface) holds its color far longer under direct sun exposure than standard decorator fabrics. Several DIY tutorials specifically recommend “outdoor fabric” for Kallax benches precisely because of this durability and cleanability, even for an indoor application.
For foam, high-density foam (2.0 lb/ft³ or above) holds its shape through years of daily sitting; the lower-density foam sold at most general craft stores compresses noticeably within a season or two of regular use. The fabric guide covers the practical differences between fabric types in plain language if you’re comparing options for this kind of high-traffic build.
Beyond the Bedroom: Other Places This Hack Works
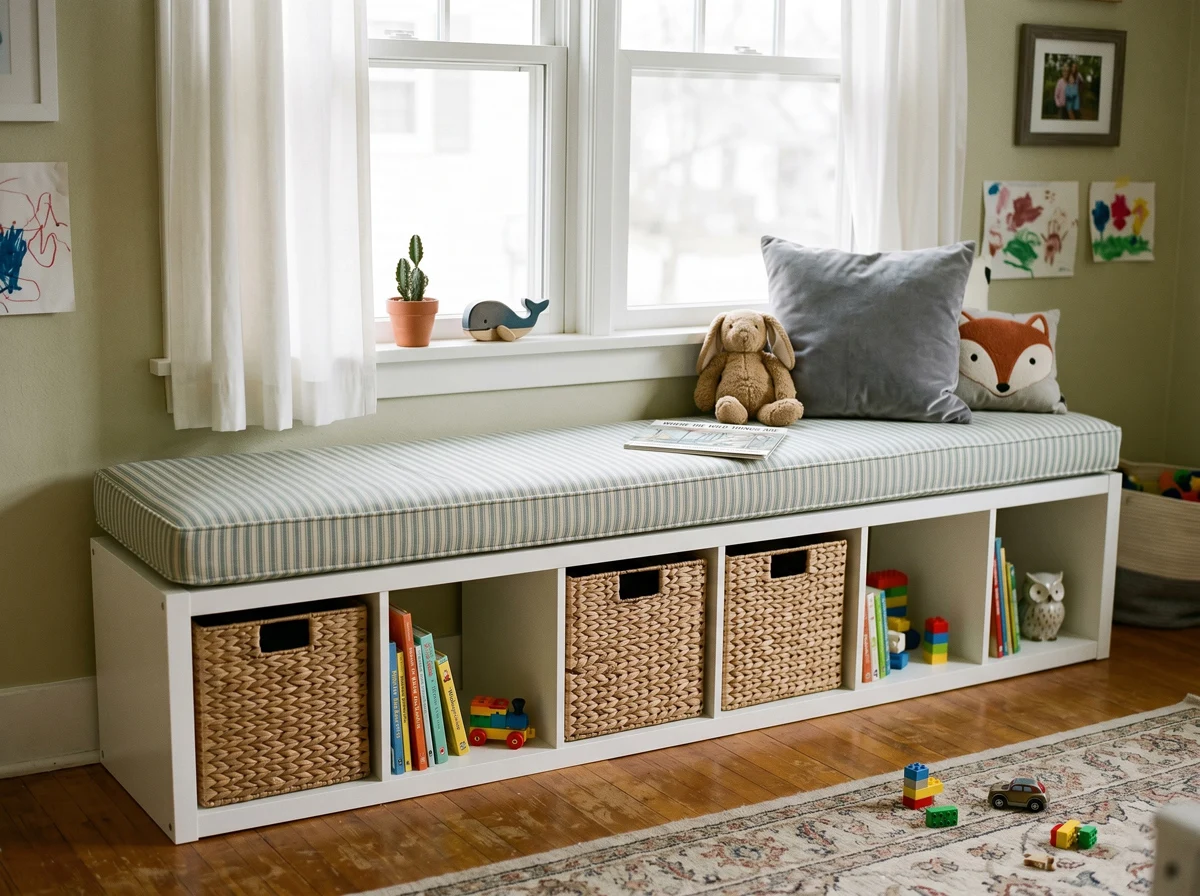
While the window seat application gets the most attention, the same build technique applies to a breakfast nook bench, an entryway storage bench, or a craft room seating area — anywhere a Kallax unit’s footprint matches an available space. The cushion considerations are the same regardless of location: measure the actual finished surface, not the stock Kallax dimensions if you’ve modified it, and choose fabric based on how the space will actually be used. A kitchen nook bench needs an easy-clean fabric; a quiet reading nook has more flexibility. The measuring guide covers how to handle these variations, including combined or extended Kallax configurations that don’t match the stock dimensions table above.
For anyone weighing the full range of options — from fully custom-built window seats to simpler bench applications — the custom cushion range covers both indoor and outdoor formats, which is useful if you’re applying this hack to a covered porch or sunroom setting where the cushion needs to handle more than indoor wear and tear.
The Kallax window seat hack earns its popularity because the hard part — the build — really is as easy as everyone says. The cushion is where the actual decision lives: spend the time and materials to make one yourself, or take the measurements once and order something made to fit. Either way, the numbers above are the ones that matter.